

variation
You can mix in mini chocolate chips or chopped nuts for added flavor. You can also replace the peanut butter with almond butter for a different taste.
FAQs
Can I use crunchy peanut butter instead of creamy?
Yes, but it will change the texture slightly. It may also make it harder to combine the ingredients.
How long will these cookies last?
They can last about a week when stored properly in an airtight container.
Can I freeze these cookies?
Yes, you can freeze them! Just place them in a freezer-safe container. They will last up to 3 months in the freezer.
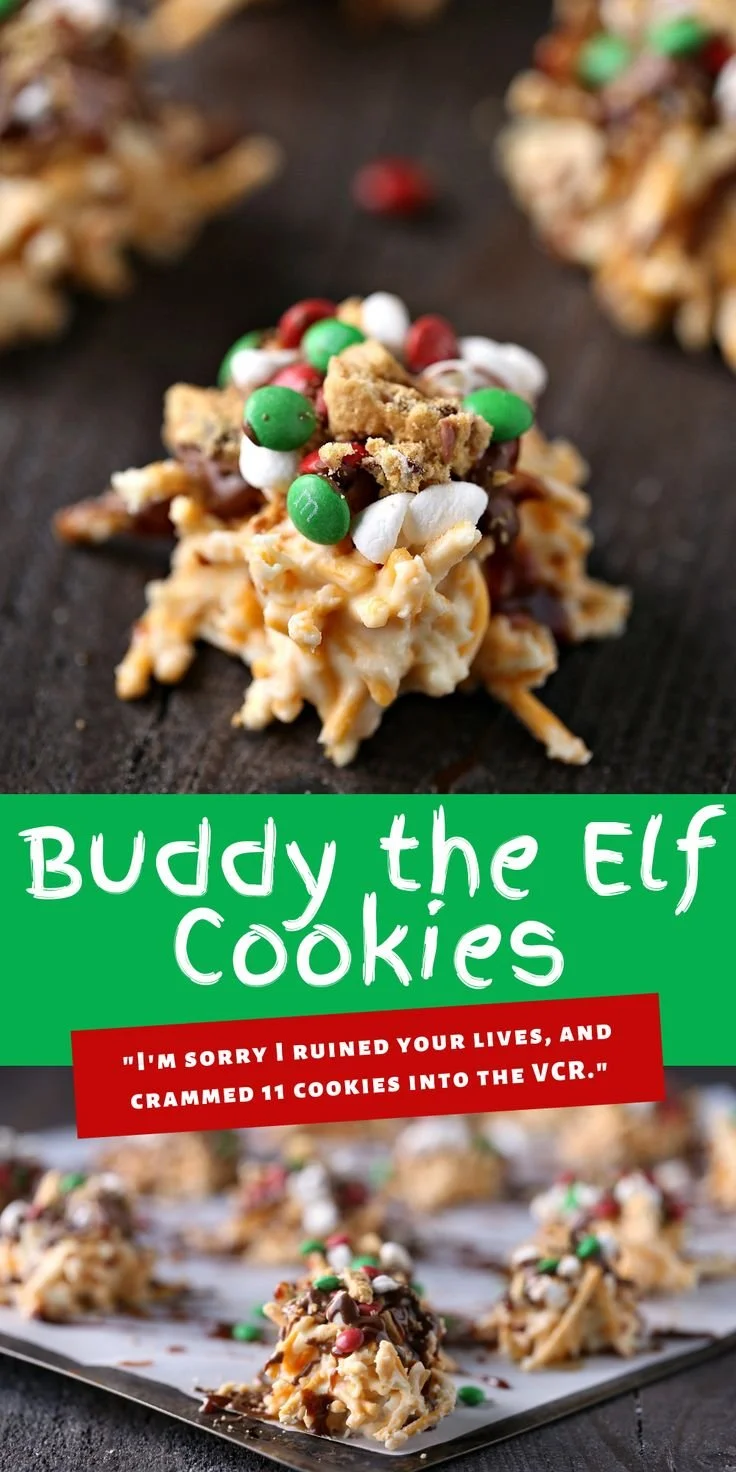
Buddy the Elf Cookies

These Buddy the Elf Cookies are fun, colorful, and easy to make without baking! Perfect for holiday gatherings.
Cookie Mixture
- 2 cups crisped rice cereal (Make sure to use fresh rice cereal for the best crunch.)
- 1 cup creamy peanut butter (Can substitute with almond butter for variation.)
- 1 cup powdered sugar
- 1 teaspoon vanilla extract
Coating and Decoration
- 1 cup green candy melts (Keep warm while working with them.)
- 1 cup red candy melts
- to taste holiday sprinkles (Use to decorate the cookies.)
Preparation
- In a large bowl, mix the peanut butter and vanilla extract together until smooth.
- Add the powdered sugar and mix until fully combined.
- Stir in the crisped rice cereal until everything is evenly coated.
- Use your hands to form small balls of the mixture and place them on a lined baking sheet.
Coating
- Melt the green candy melts in a microwave-safe bowl, stirring every 30 seconds until smooth.
- Dip the balls into the melted green candy to coat them fully.
- Place them back on the baking sheet and top with holiday sprinkles.
- Melt the red candy melts and drizzle over the cooled cookies.
Chilling
- Let the cookies chill in the fridge for about 30 minutes until set.
Store cookies in an airtight container at room temperature. They last about a week. Freeze in a freezer-safe container for up to 3 months.
Related posts:
 Minion Cookies Recipe
 Spicy Salmon Sushi Bake Recipe
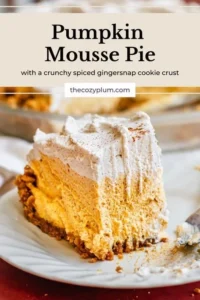 This Fluffy Pumpkin Mousse Pie Is A No-bake Recipe That Is Much Lighter Than A Classic Pumpkin Pie…
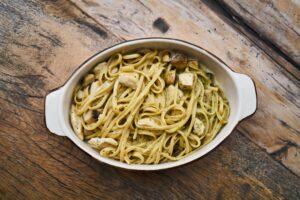 Cowboy Butter Chicken Linguine Recipe | Easy & Delicious Dinner Idea
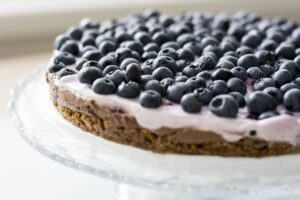 Blueberry Cottage Cheese Breakfast Bake Recipe